As I have a couple of days off after my January exams, I decided I would come home to get started on the build. I ordered a piece of blue modeling foam 200x500x600mm as it was cheaper than a piece 70mm thick, and would leave me with plenty spare. So after about 20 minutes of cutting with the longest saw in the garage I finally had a piece 70mm thick as required.

This is the 1:1 scale template I will use to make the jig and cut the foam is now complete. I have opted to use a straight top tube and a tapered down tube, it will remain 65mm wide throughout it's length, but it will taper from 70mm at the top down to 50mm at the bottom bracket.

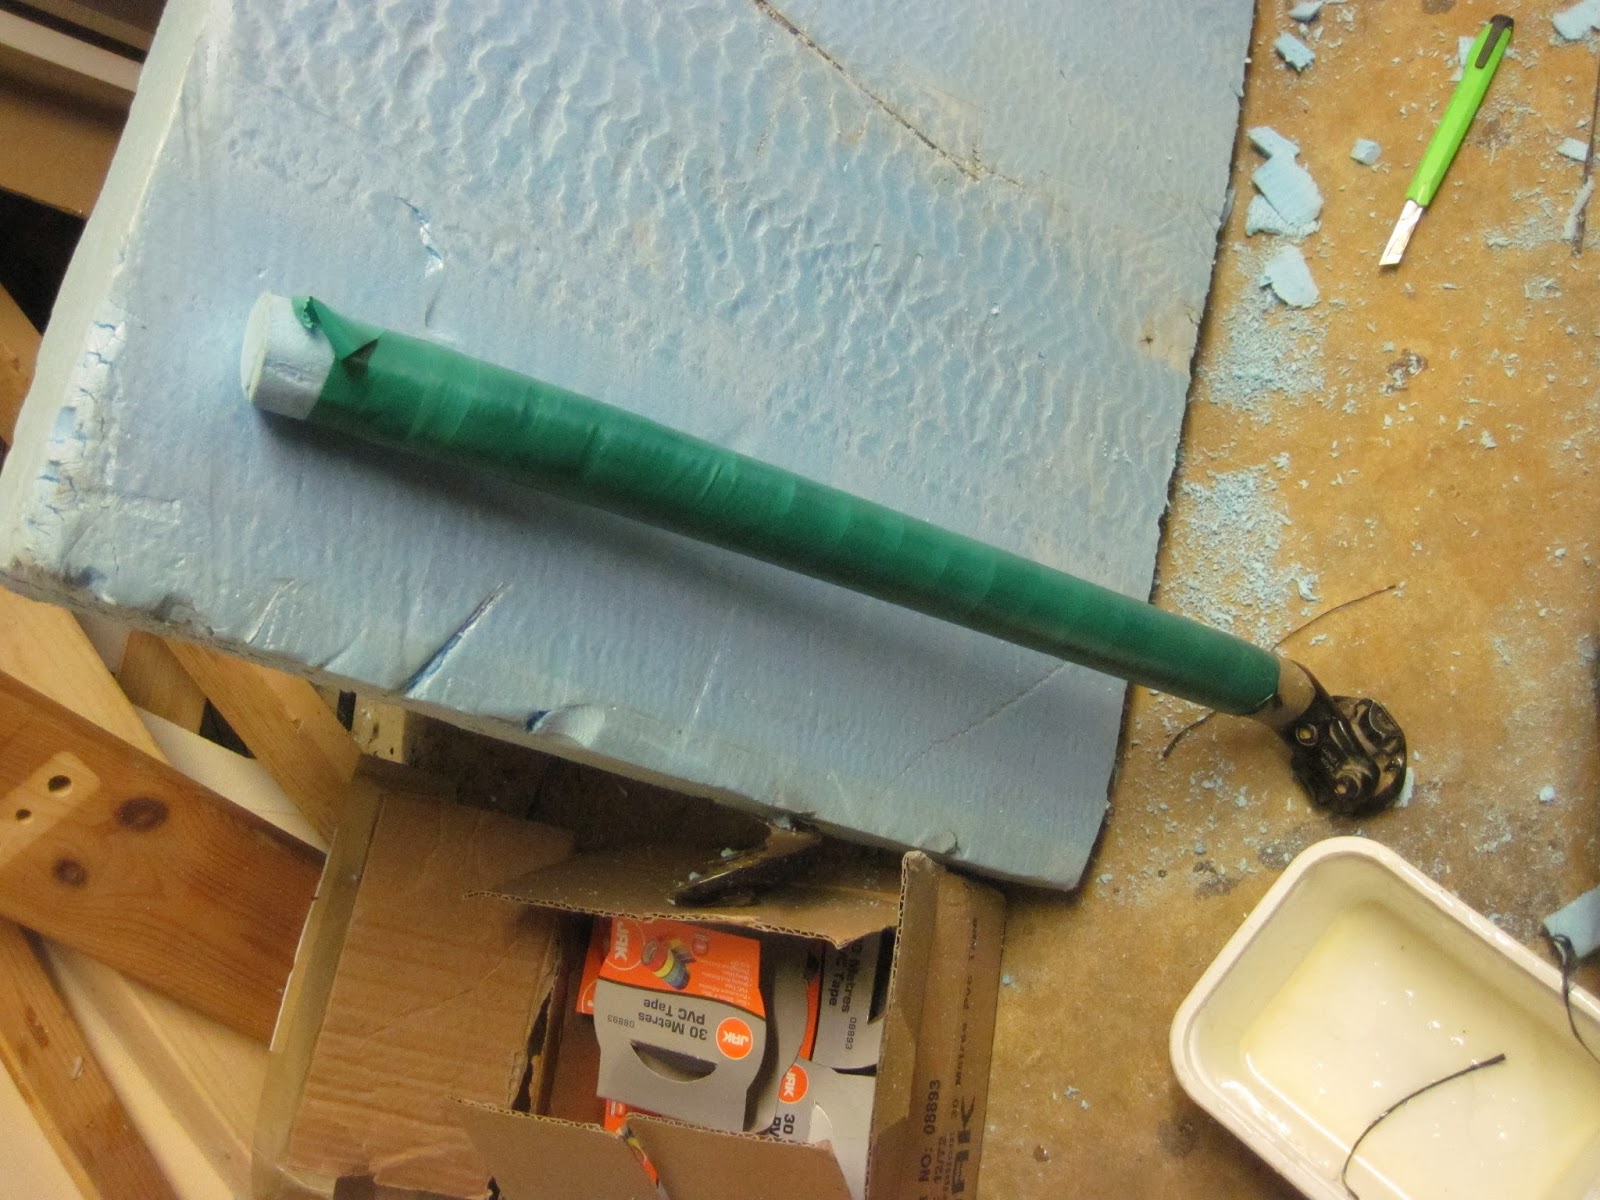
The tape I will be using to compress the carbon will be this green 30mm wide electrical tape, I have 240m which should hopefully be enough. I am using green as I found the black tape I used on the hardtail was hard to remove completely as it blended in with the carbon fibre when set.


For the headtube I have decided bond headset cups into a carbon tube, rather than to use a donor headtube, I'm using a superstar tapered headset as it has quite large flanges on the upper cup, and 25mm flanges for the lower cup, so a decent bond will be possible, this method should be about 75g lighter and no less durable.

For the seattube I have used a slightly cracked Boardman seatpost wrapped with a thin layer of tape as a mold, this is is the same method as I used on the hardtail.

Here are all the pieces previously described now wrapped in carbon fibre and the green electrical tape - I will try to update asap with how they have come out.


No comments:
Post a Comment