I had been planning to make a frame of some description since doing my final year school D&T project, where I made a bamboo and carbon bike trailer, after my teacher told me a bike frame was too difficult a task to do.
I had thought of copying the idea used by Yeti, Raleigh and a few other bike manufacturers back in the early 90's, where they bonded carbon tubes into a steel or titanium set of lugs, this idea has some major advantages, such that I could butcher an old frame and only have to make a few tubes which I could then bond into the old frame, disadvantages were that I would have to buy and destroy a perfectly good frame.
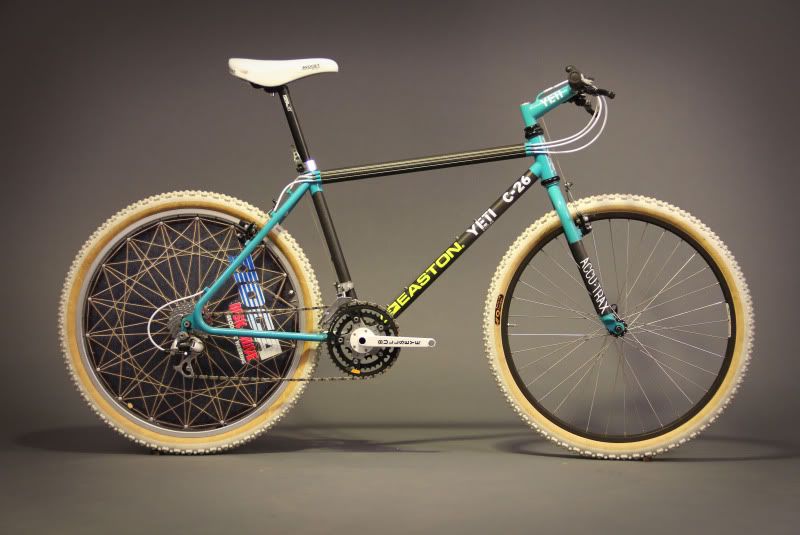 |
| A Yeti C-26 with bonded carbon main tubes and steel rear triangle |
Another alternative would be to buy the dropouts, head-tube and BB inserts from a frame building supplier, but after looking into this it turned out that it would cost about £50 to get steel parts and upwards of £80 to get aluminium or titanium. This is where the bit of luck came in, I decided on a whim to see if anyone had any old or broken aluminium frames lying around which I could use for parts, turned out nobody did, but someone had a 1992 Giant Cadex with a cracked downtube that he was willing to sell me for £20!
 |
| A Giant Cadex - not the one I used as can't find the photos of it at the moment |
This frame had the advantages that it was already partially carbon and had replaceable dropouts (gotta give SSUK champs a go), but it had a standard 1 1/8 headtube which would make future fork upgrades more difficult , as a tapered headtube had been my original plan - but for a first prototype on a budget I decided I could live with it.
To design the frames geometry I used bikecad.ca where you can alter the geometry and tube sizes to get the desired look, shape and size. I based the geometry on my 1994 Raleigh m-trax Ti as I liked the way it handled and was the only bike that I had available to copy
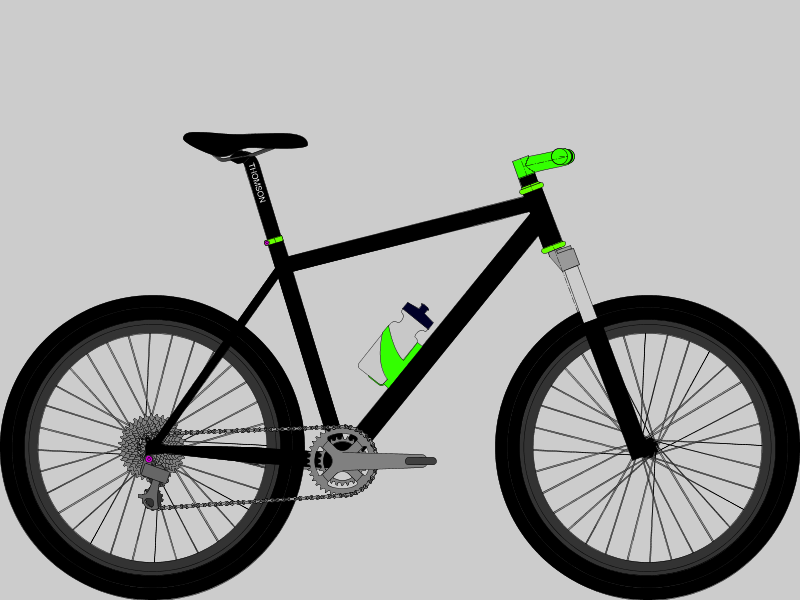 |
| A basic mock-up of what I had aimed the bike to look like |
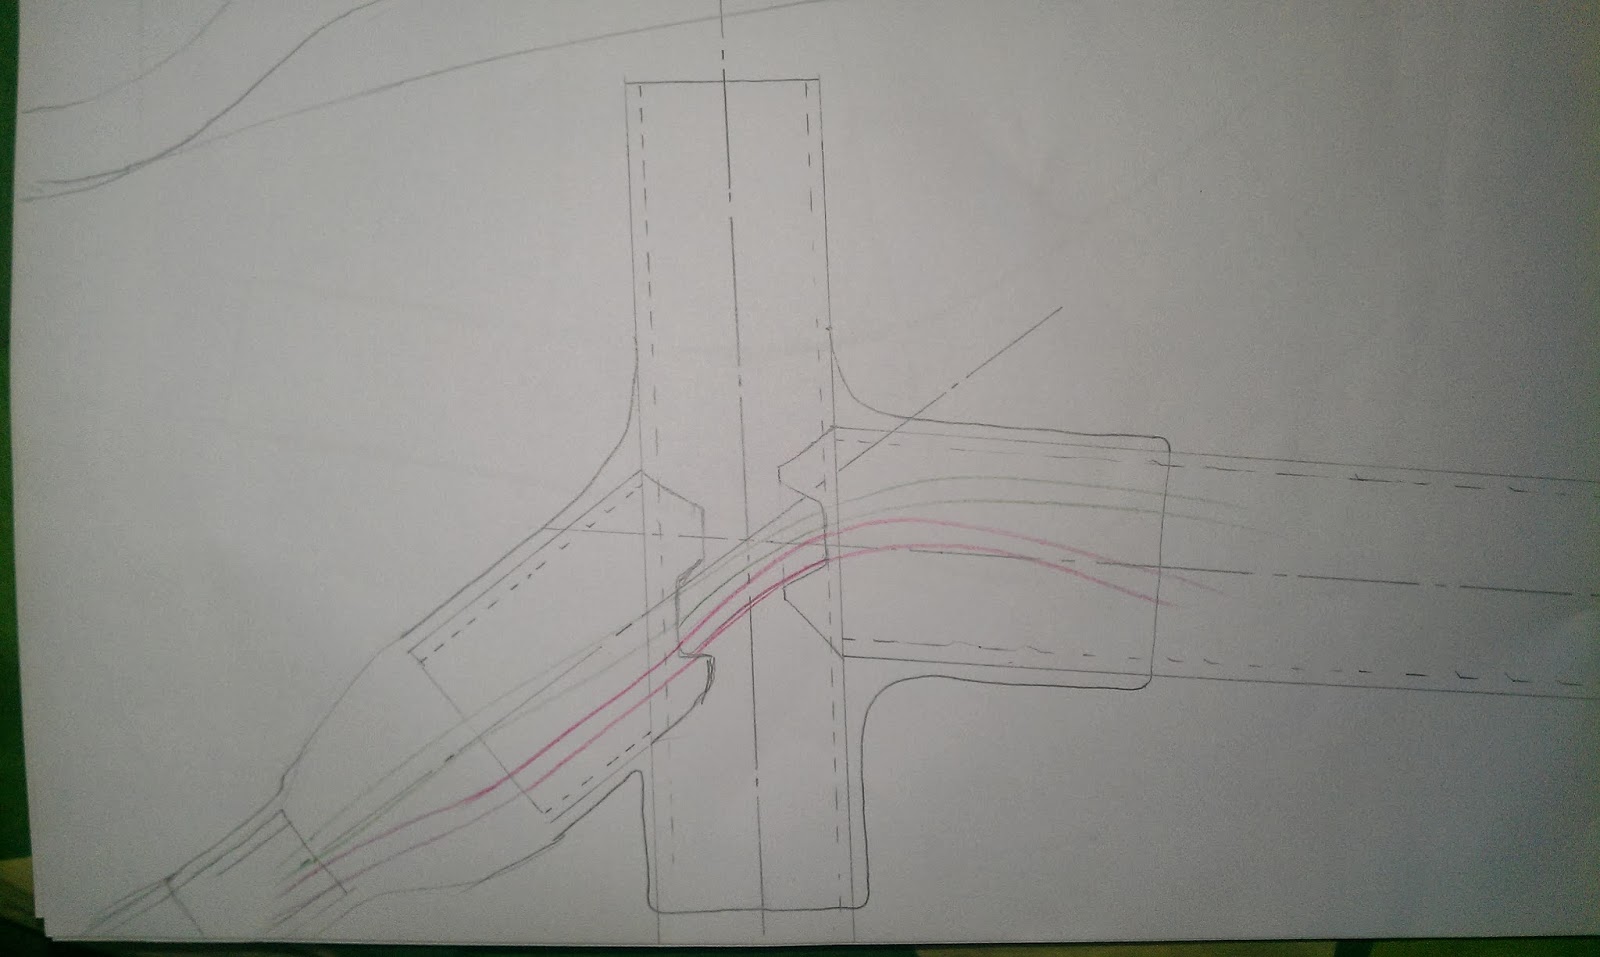
Designing more intricate parts such as the top of the seat-stays and chain-stays I used pen and paper, with help from
Sheldon Browns website on clearances for chainrings and a few other sources (googled) for tyre dimensions and recommended mud clearances, this was especially important as Oxfordshire mud is particularly clingy
 |
| The first draft designs for the chainstay (left) and seatstay (right) bridges |
 |
| An early design - I had planned on a lugged carbon frame at some points |
 |
| Top and side views of the seatpost/toptube/seatstay junction |
 |
| The revised design for the same area - this is a bit sleeker and easier to make |
 |
| Dropout and disc mount designs |


No comments:
Post a Comment